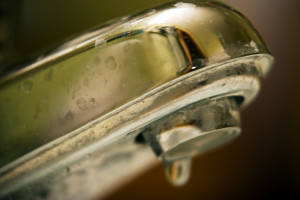
If you are prepared to go-it-alone, here are a few tips to help fix the leak:
- The first step is to turn off the water supply to the sink. If there isn’t a shut off valve directly under the sink you may have to turn off the water supply for the whole house.
- Then you’ll need to remove the handle knobs. Be careful to gently pry decorative parts off and use caution when unscrewing the screw that mounts the handle to the stem. If the screw is stubborn, try using some penetrating oil, like WD-40, instead of using excessive force that may strip the screw.
- Remove the stem by loosening the packing nut. Take a look at how your faucet is attached, some are designed to pop right off, but others have a twist off valve. Inspect all of these parts for damage.
- If all the parts seem to be in working order, check the washer and O-ring inside the valve seat, they are common causes of leaky faucets. When replacing them, it is essential that the new washers and O-rings be the exact same size and type as the old ones. It can be helpful to take the old parts to the hardware store to help you determine the appropriate size.
- Now you’ll need to attentively reassemble the faucet. The proper re-assembly order is washer/O-ring, then stem, packing nut, screw, handle and decorative parts.
If you follow these steps and the drip is still present, it might be time to call a professional. An experienced plumber can help evaluate if the drip is caused by worn-out seals, loose parts, valve seat corrosion, or even more complicated plumbing issues.
